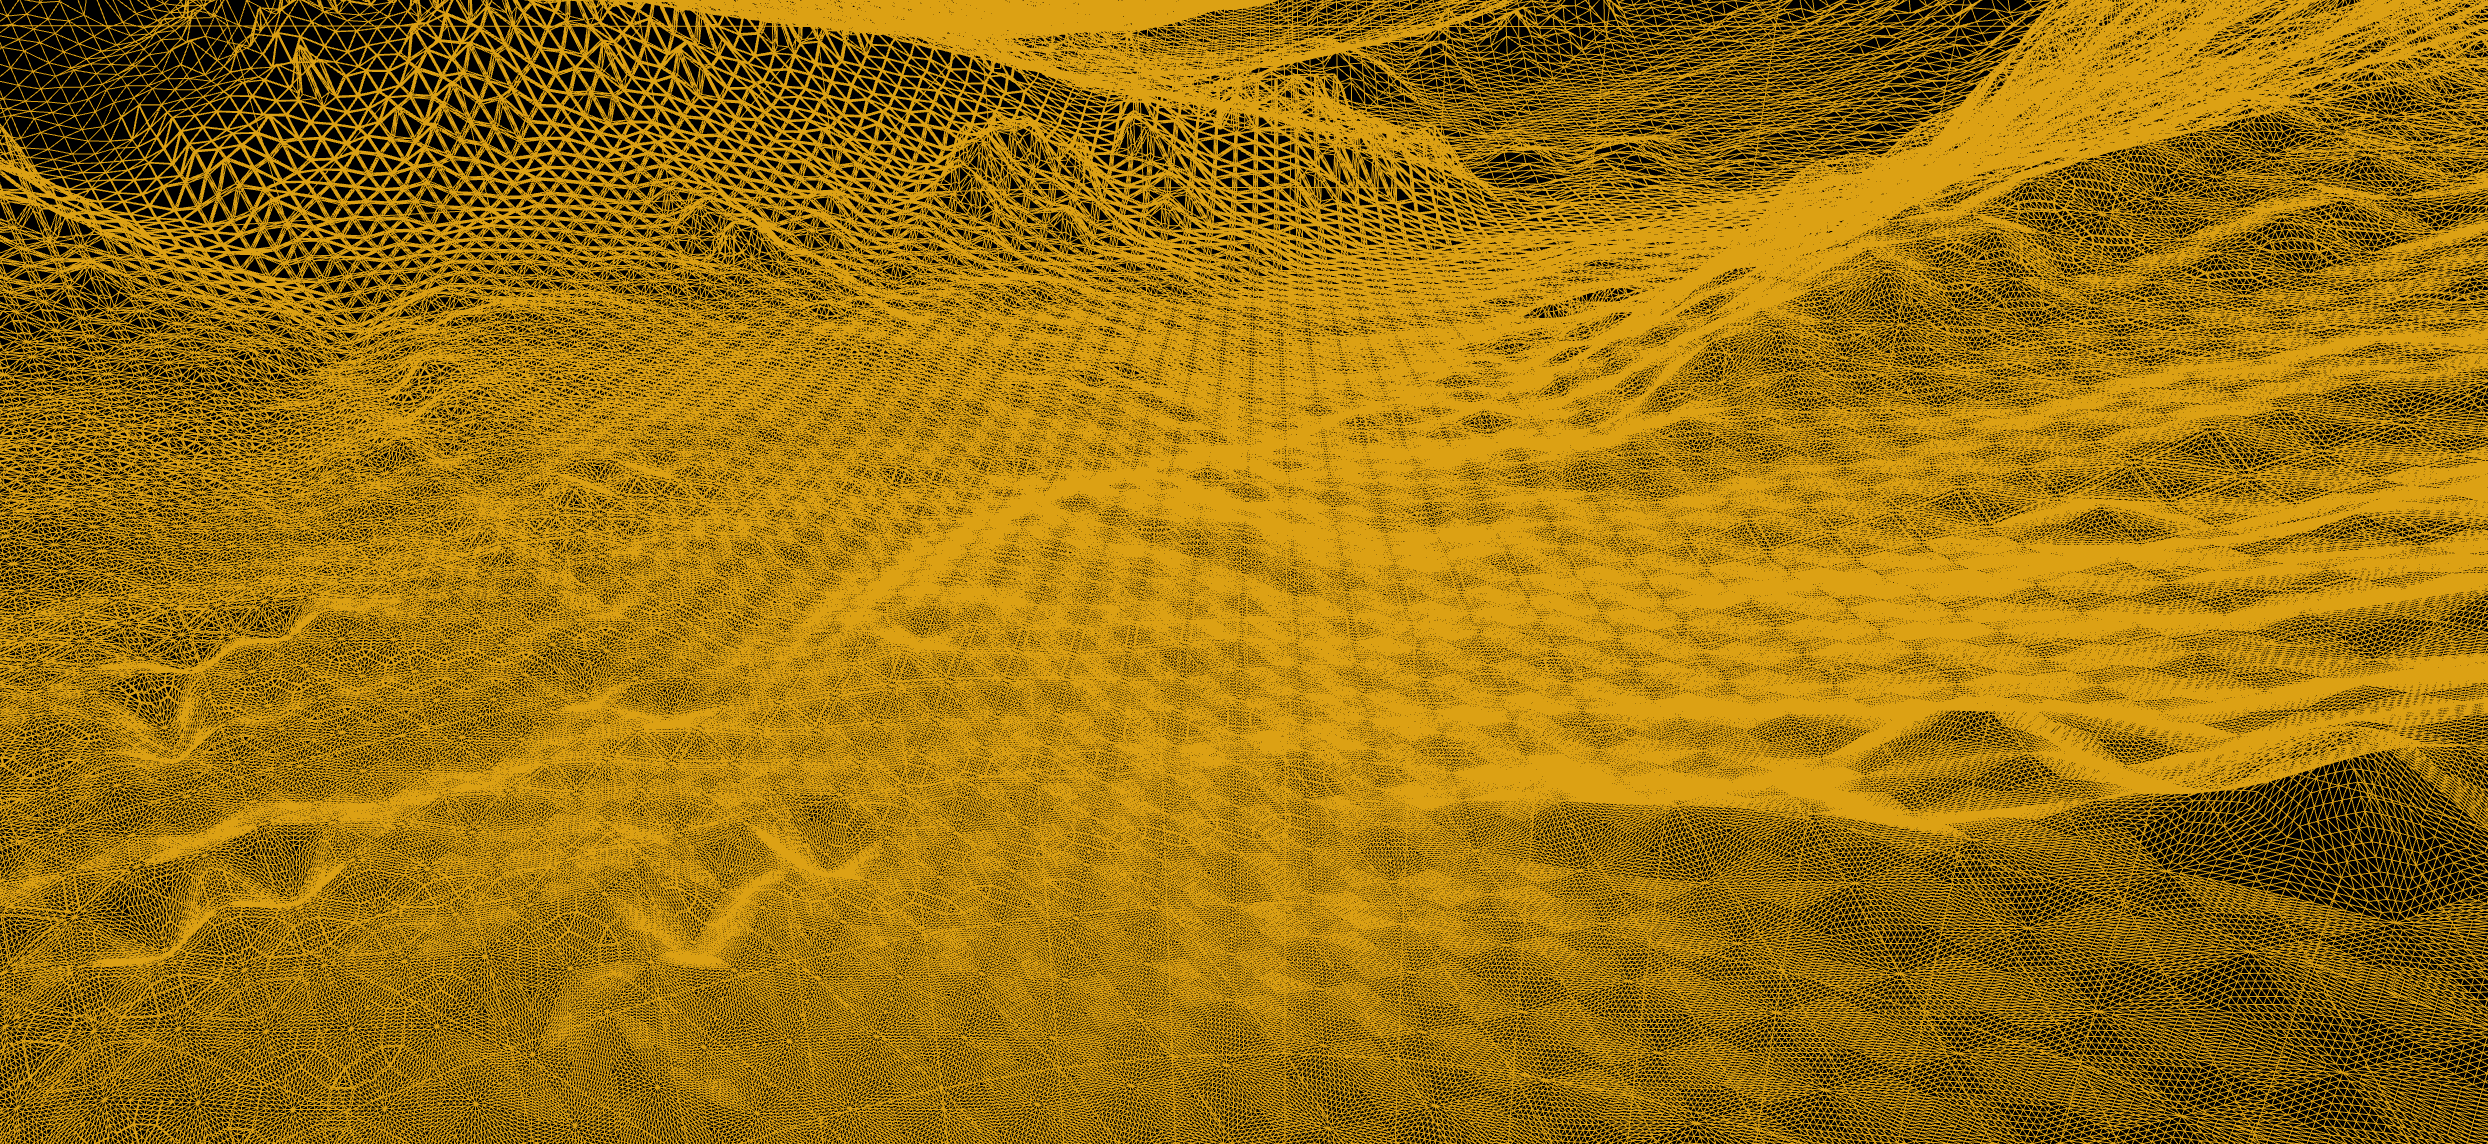
Surface of Mars
The Goal:
Build out a world-aligned material, to add dynamic detail procedurally - even if we need to sculpt the landscape further after its initial creation in World Machine.
Step 1:
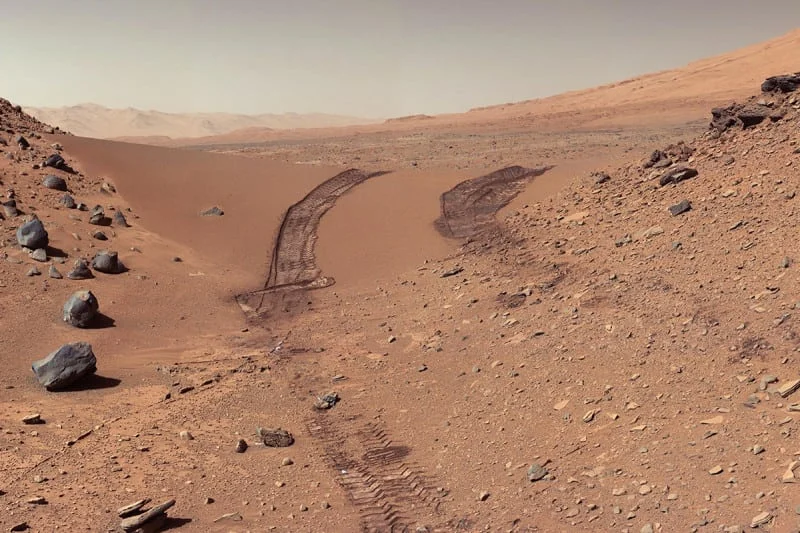
To create our own version of Mars for our VR showcase, it all starts with reference.
Images captured by the Curiosity rover served as my guide for approaching this landscape.
Step 2
With these in mind, I then built out a few materials as my base selection for the actual landscape surface. These were made using the Quixel Mixer to blend and color megascan materials to create new, other-worldly-yet-believable materials.
Step 3
With the material created, the next step is to build out the base terrain with World Machine.
Step 4
From world machine, we export the heightmap as a .r16 file, and also export the overall colormap generated with geoglyph and geocolors - a plugin for world machine. Both of these go over to Unreal 4, where I begin to build out the shader that will handle all of my material blending.
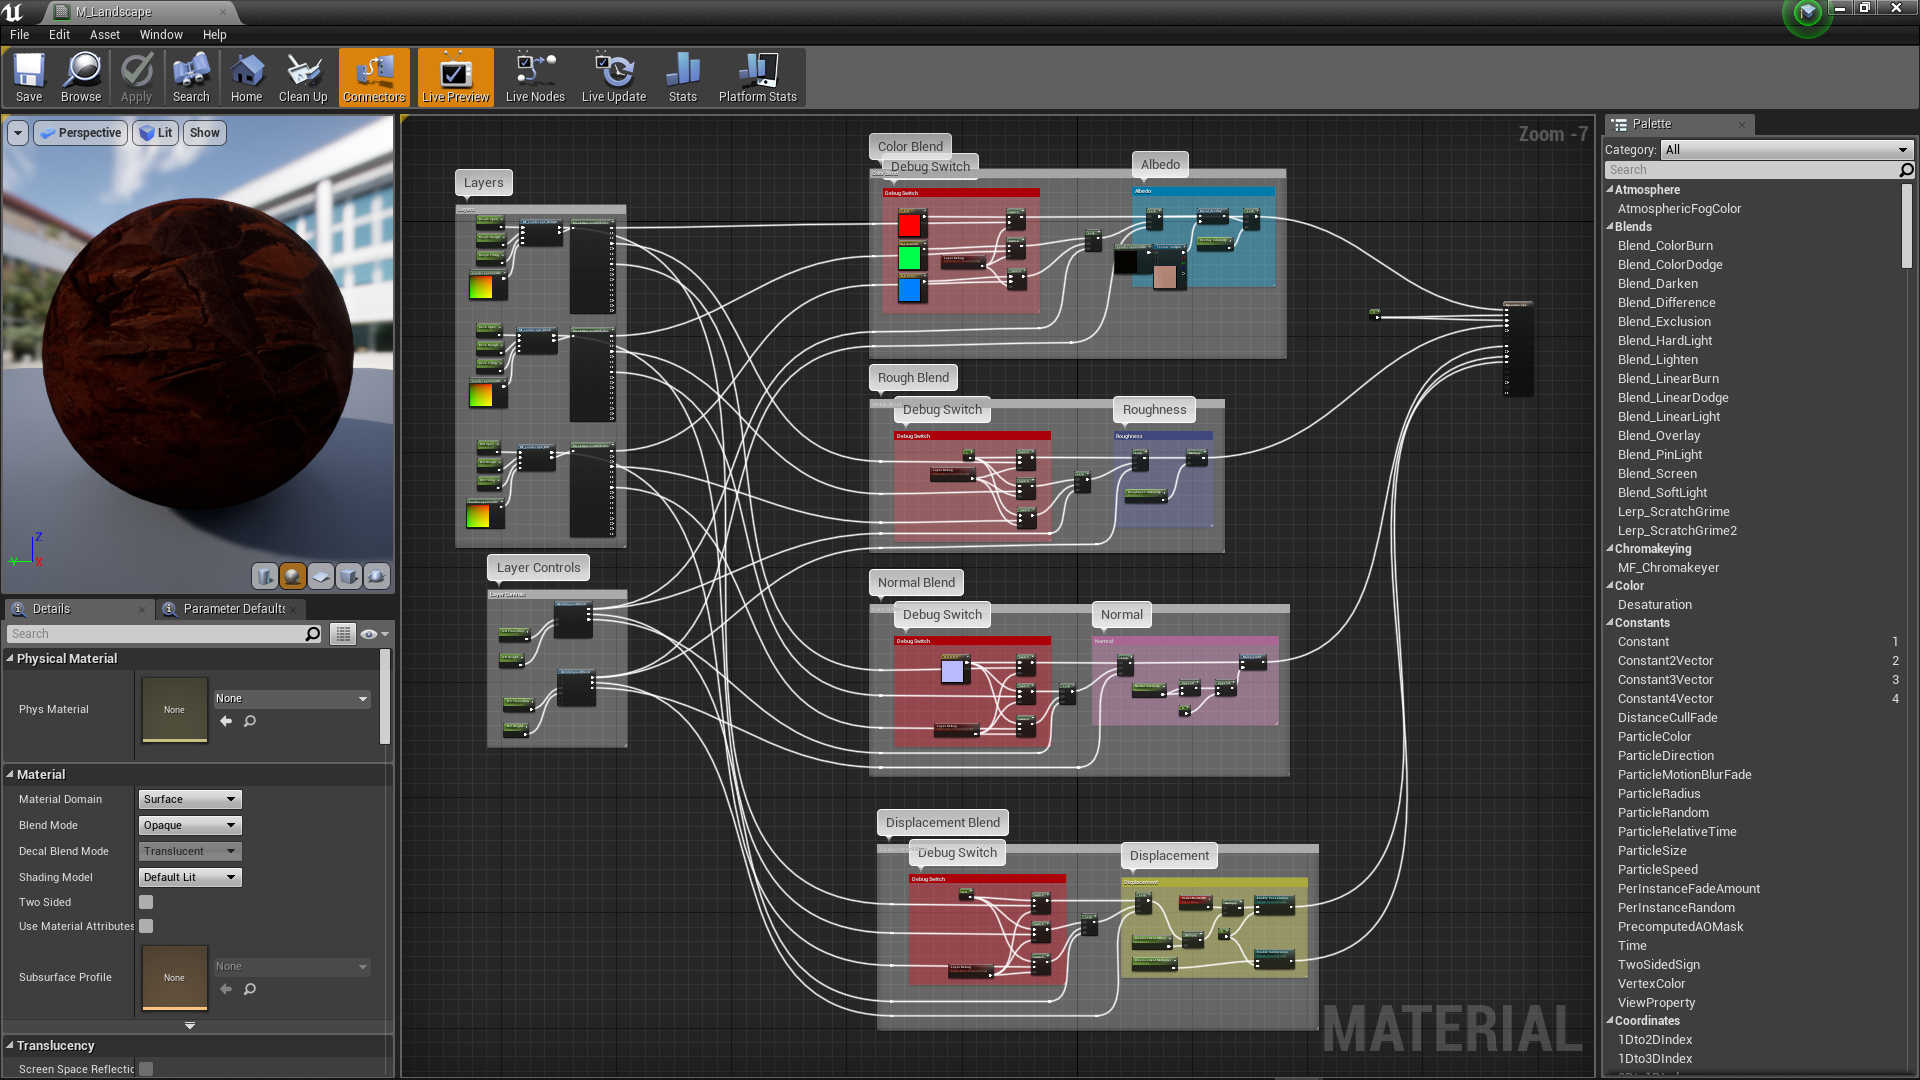
The Landscape Master Material
World aligned blend nodes drive the mixture for each of the material's individual channels, with a global switch being available to disable the materials and enter a 'debug' mode. This will be handy when we dial in our blend values at the beginning of the next step.
Step 5
With the master material set up, I make a material instance - so I can adjust the values of my defined parameters on the fly - and apply this instance to the landscape, with the DEBUG mode active.
Landscape Material in Debug Mode - showing the blending layers as solid RGB
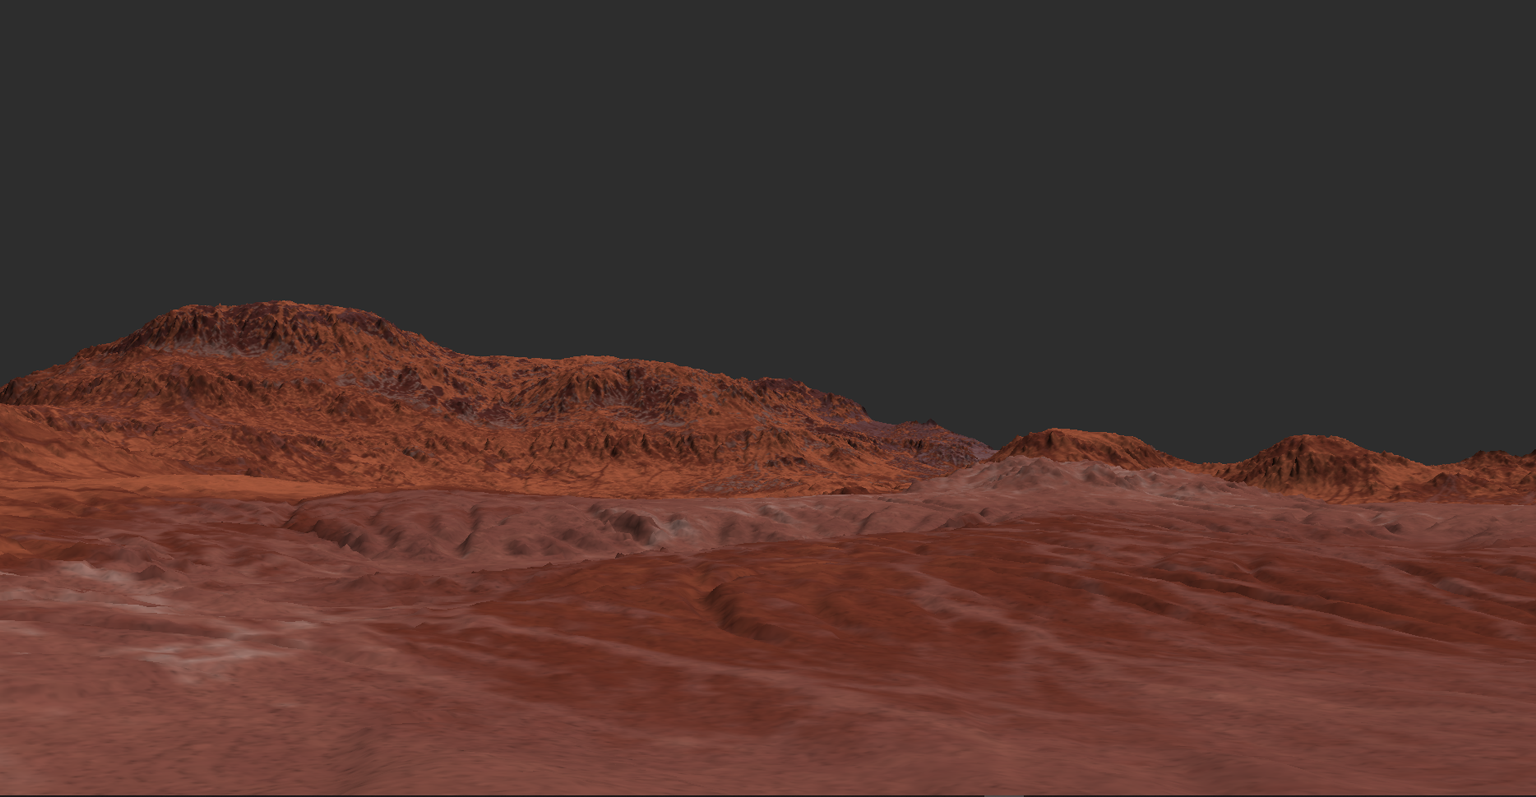
This makes it incredibly fast and easy to get the mixture I'm looking for between my separate materials. When I deactive debug mode, I get something like this:
Cool - But there's still a ways to go.
Step 6
First we can go ahead and turn our atmospheric fog and exponential height fog back on -
Step 7
Next we can jump in a bit closer and adjust the tiling rates of our individual layers to get the detail scales we're looking for.
Step 8
Fix the material! The final version is shown in the shader graph above, but at this point the shader wasn't using blending normals yet, so I quickly patched that up -
In addition to the blending improvements, the normals and the world alignment parameters together will allow for a 'build-up' effect that we can drive in realtime. This will come up again later on for the 'storm' sequence.
Step 9
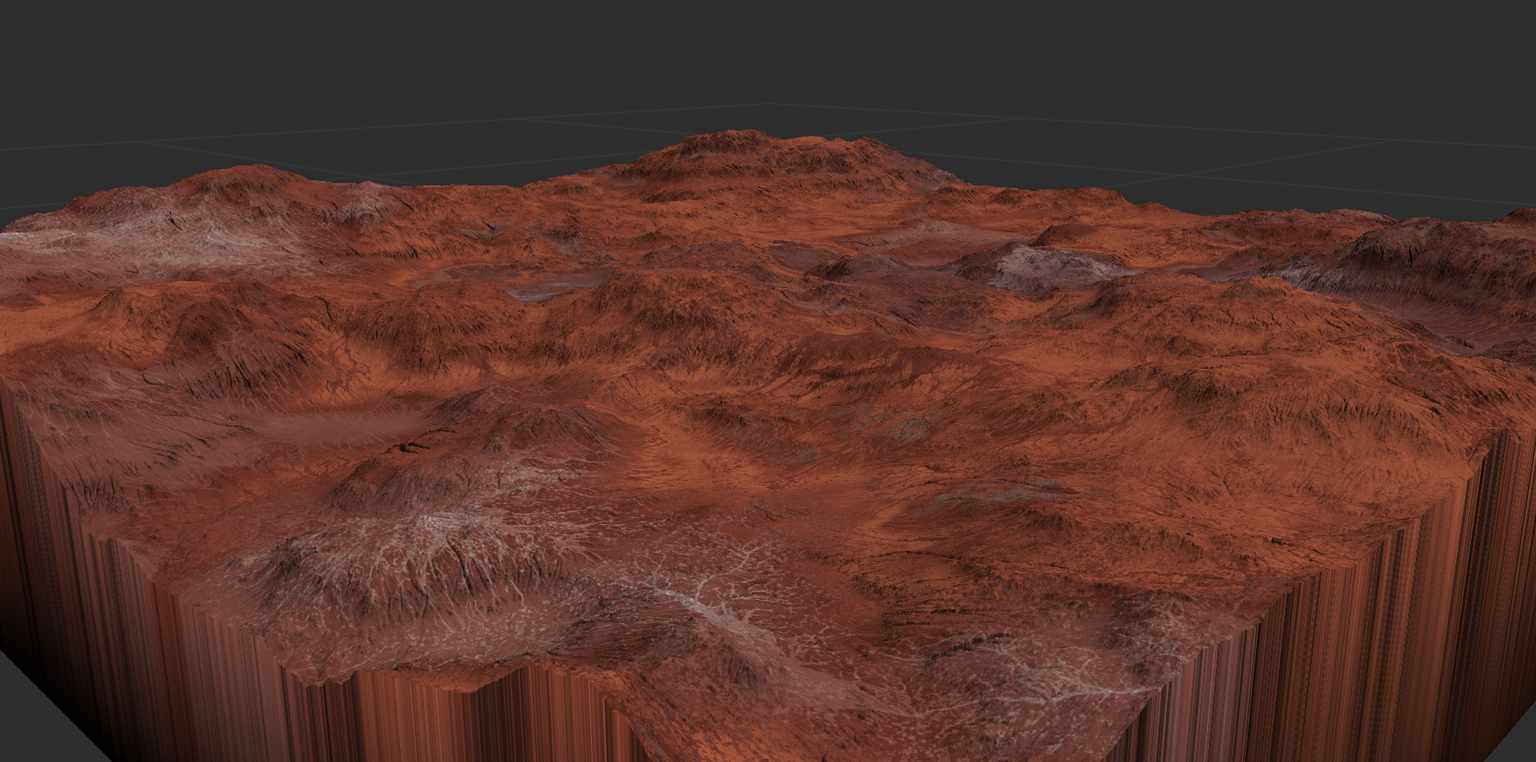
This is where I tried to reconfigure the shader to have displacement work in addition to the other channels. I ran into performance issues on the VR headsets so ultimately pulled it out, however did add in the logic to have displacement just around the viewer and parameters to control the fade / amount of subdivision.
Top Left - Less Tesselation far away, more on the bottom middle closest to the viewer
Step 10
The full details of this step can probably fit in another blog post, so for the 'Rest of the Owl' / Abridged version - step 10 is adding insert meshes. Specifically to get things like overhangs, more unique cast shadows, specific areas of detail to lead the users eye and gameplay.
For this project, since we used megascans for the surface we continued along using megascans for the insert meshes. We made some adjustments to the shader to allow for a soft distance-fade / dithering at mesh intersections, similar to those in Battlefront 1/2.
I set up the HLOD system to manage detail levels as meshes take up less screen real estate.
I also set up mesh distance fields to handle AO, since we want the entire scene / experience to have dynamic lighting. Again, this will come up again during the 'storm' in a later post :)
Habitat building is from Nasa's 3D database - placed for scale / context - basic matte shader (not final art asset)
This is just the first phase of development for the environment. Still to come will be more mesh inserts, more optimization, mesh decals, particle effects, blueprint-driven storm sequencing and more!
Thanks for reading!


